This guide is intended to inform you of the gameplay controls, as well as basic tips on how to play Desert Child. Please note, all gameplay descriptions are based off of an Xbox One controller, and it is highly recommended you use a controller to play this game.
Basic Controls
Movement – Use the Left Analog Stick to move
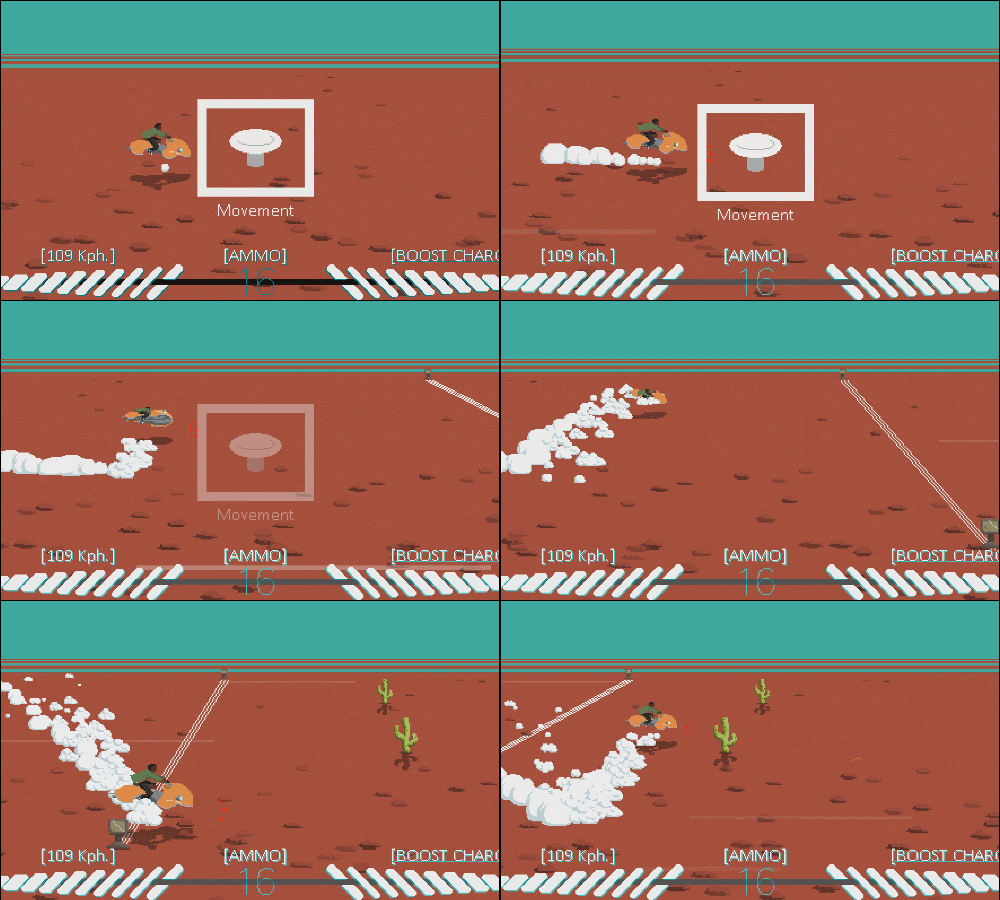
Boost – Press ‘A’ to Boost. You’ll notice that as you hold down ‘A’, the boost meter on the bottom of the screen gets below depleted. Depressing the ‘A’ button will regenerate your boost.
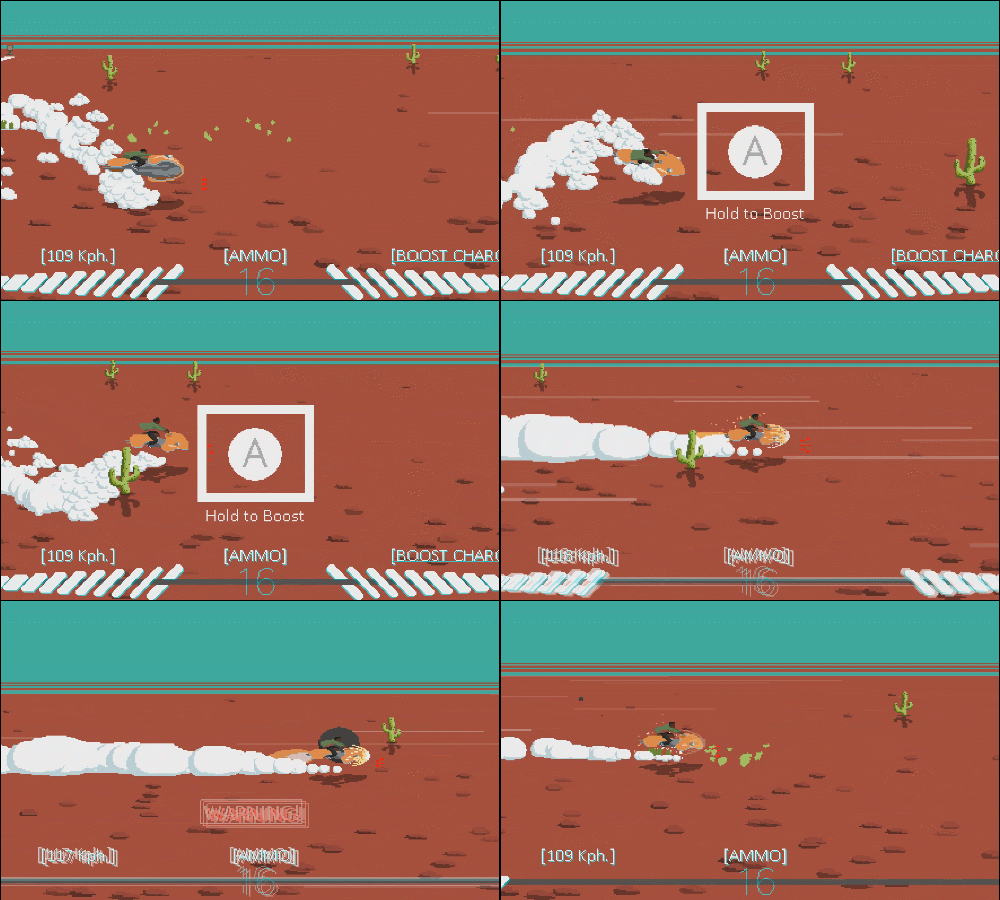
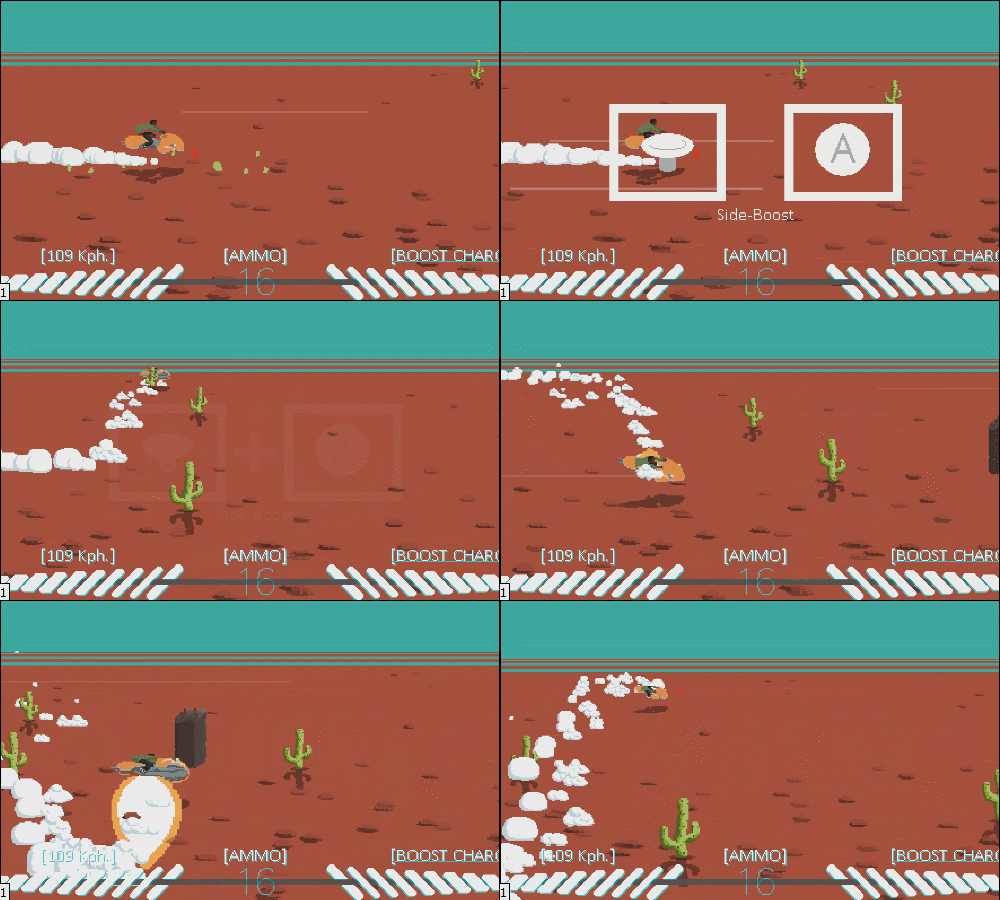
Side-Boost – Hold up or down on the analog stick, followed by simultaneously pressing the ‘A’ button for Boost.
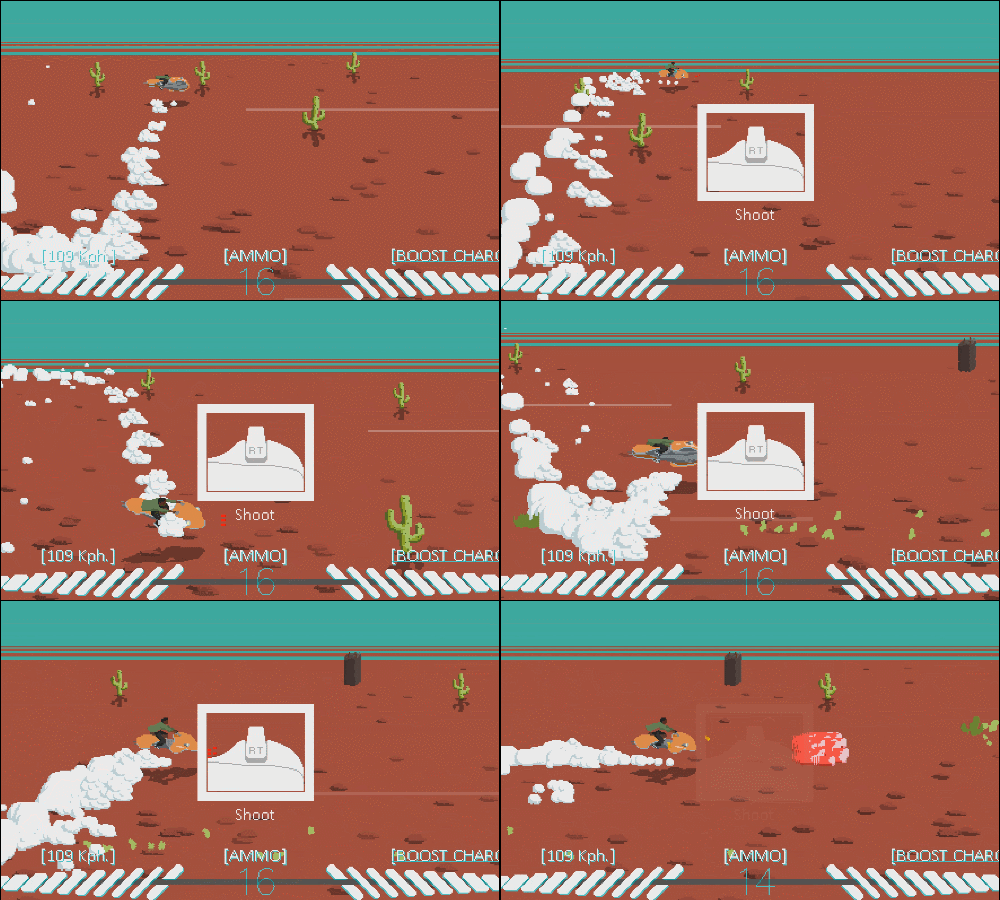
Shooting – Press the Right Trigger (RT Button). Your Ammo Counter is on the bottom of the screen.
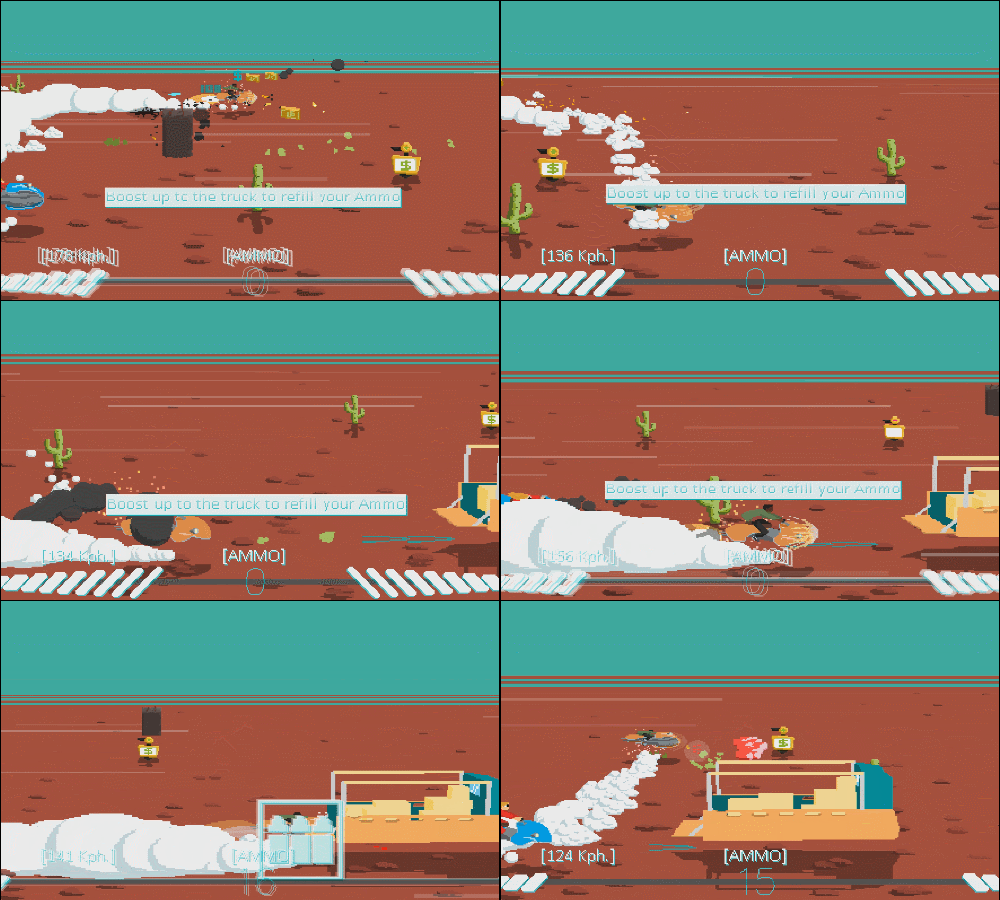
Ammo Truck – When the Ammo Counter reaches zero, an orange truck will appear on the bottom right of the screen. If you press ‘A’ to Boost and touch the truck, your ammo will be refilled.
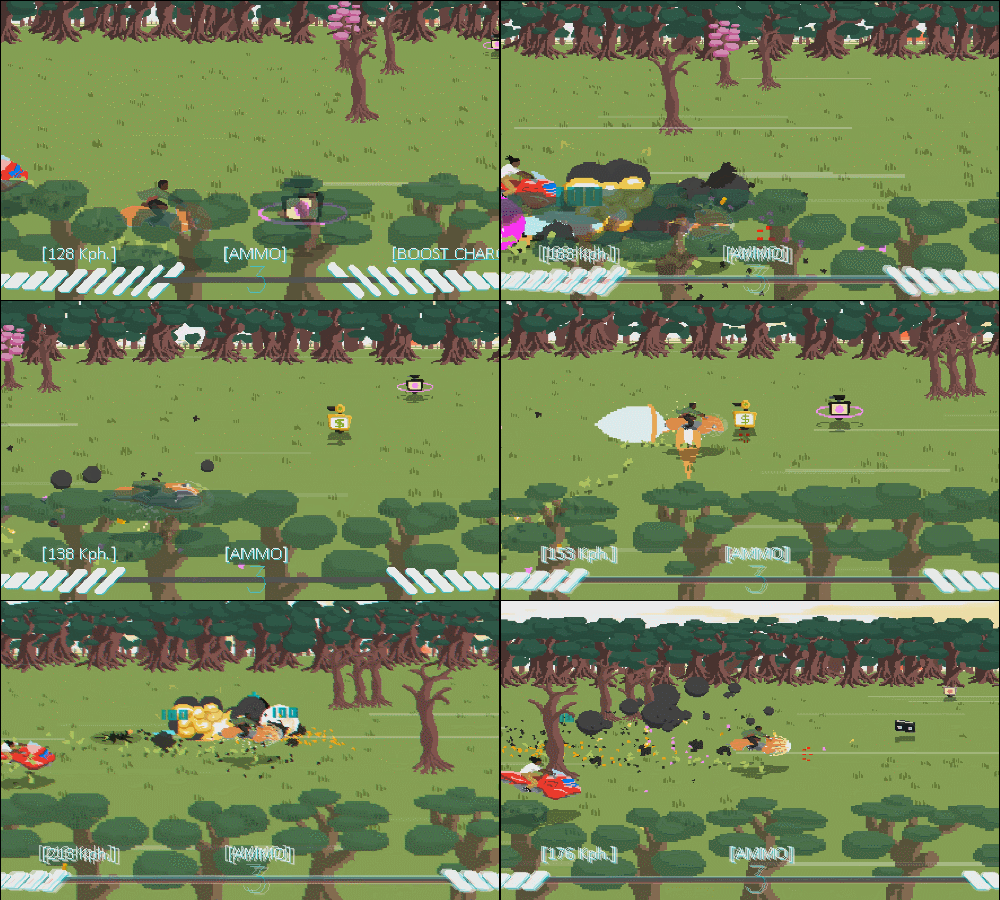
No-Shot Kills (Bash) – Additionally, you can use ‘A’ to Boost the front end of the hoverbike into objects to destroy them. They will count as ‘No-Shot Kills’ at the race end.
Ammo Pickup – If you use ‘A’ to Boost through a red dot TV, you will get a small amount of ammo refilled in the Ammo Counter
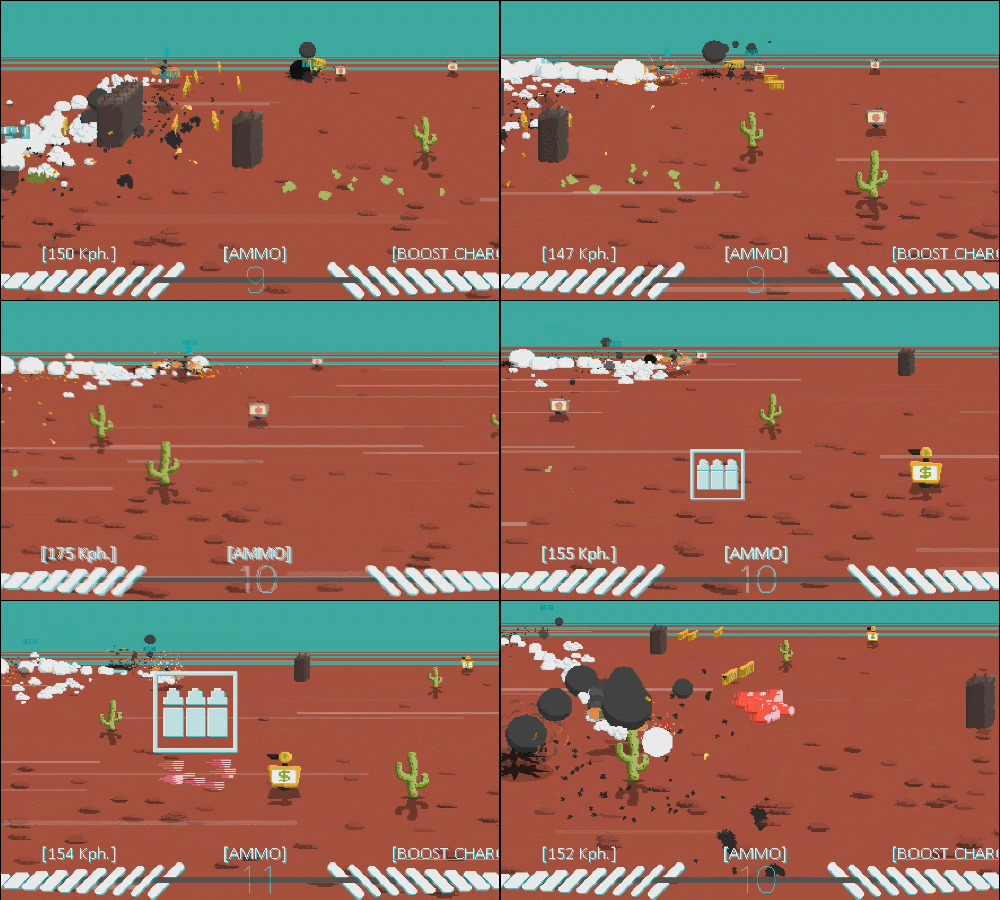
Boost Pickup – If you shoot the red dot TVs, you will get a small amount of Boost refilled.
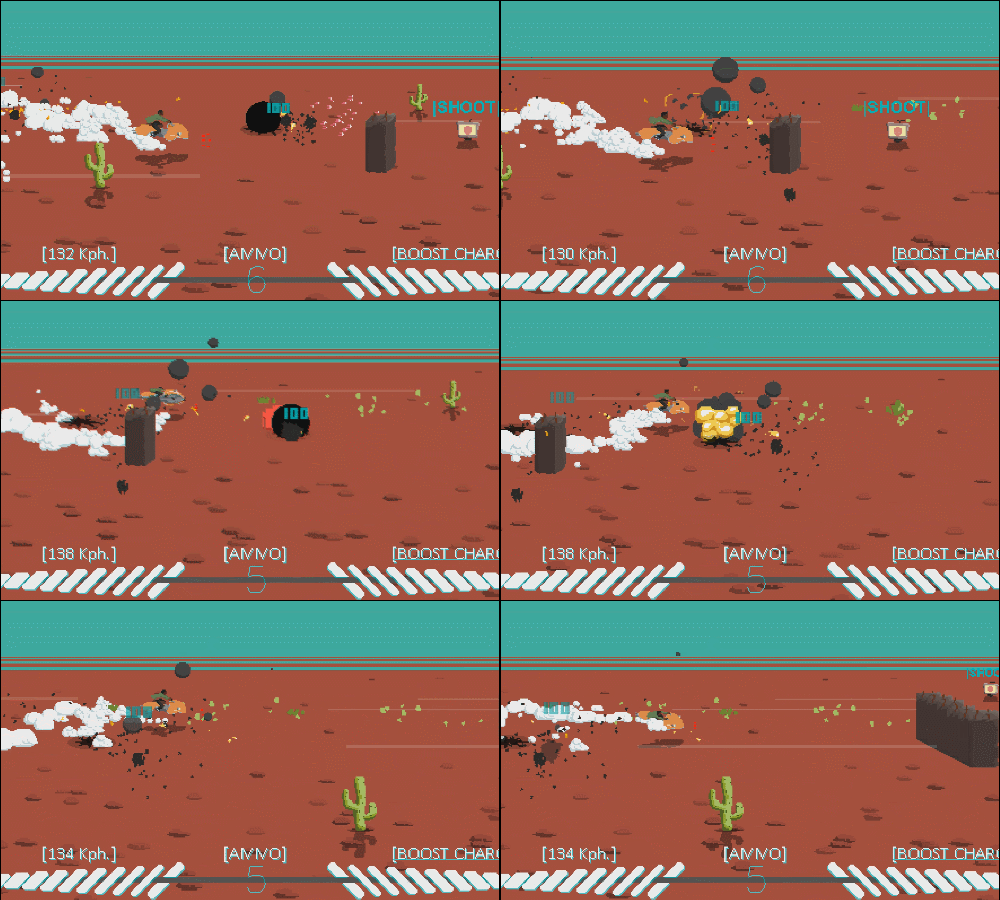
Pink Dot TVs – Shoot or bash through all TVs with pink dots, as some of them will fire back at you, and some TVs, when they get shot, will leave behind a trail of bullets. You can shoot at the larger pink projectiles, but not the smaller trail of pink bullets left behind.
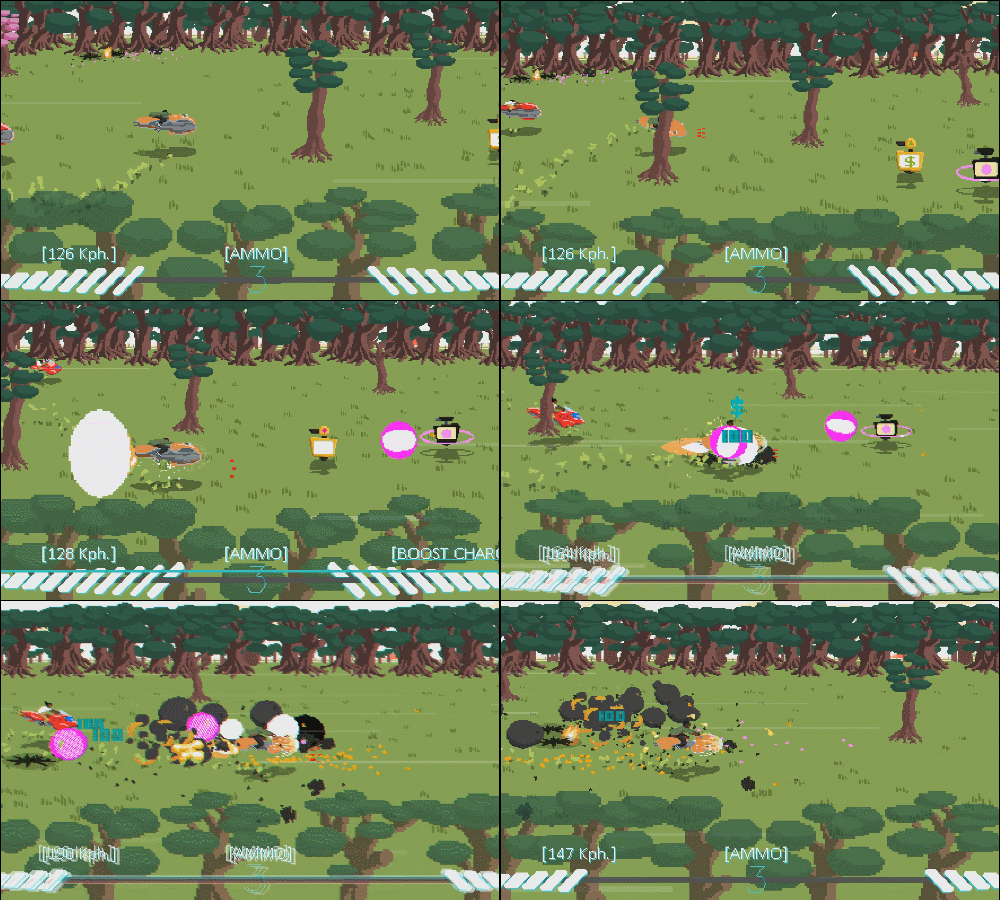
Cash – Shoot yellow TVs with the ‘$’ sign, and collect the yellow money to use as currency throughout the game.
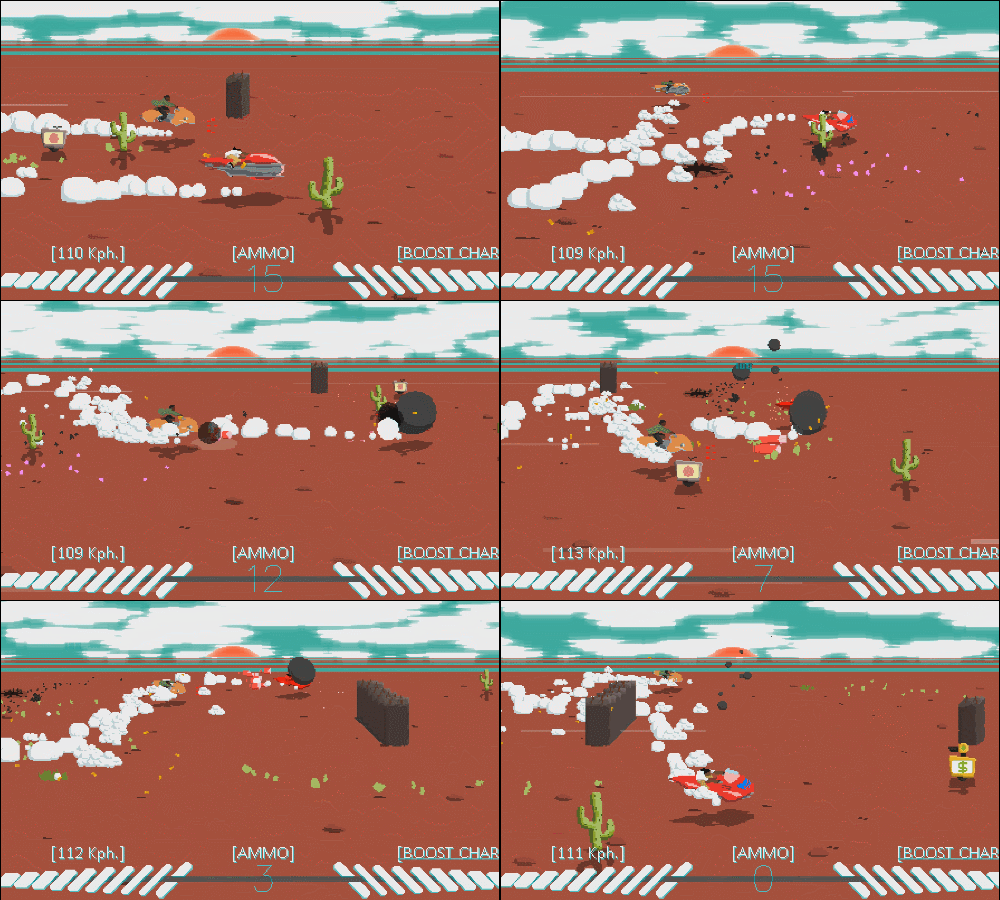
Slow Down Opponent – If your opponent gets ahead of you, you can shoot them to slow them down, but you will never be able to destroy or kill them.
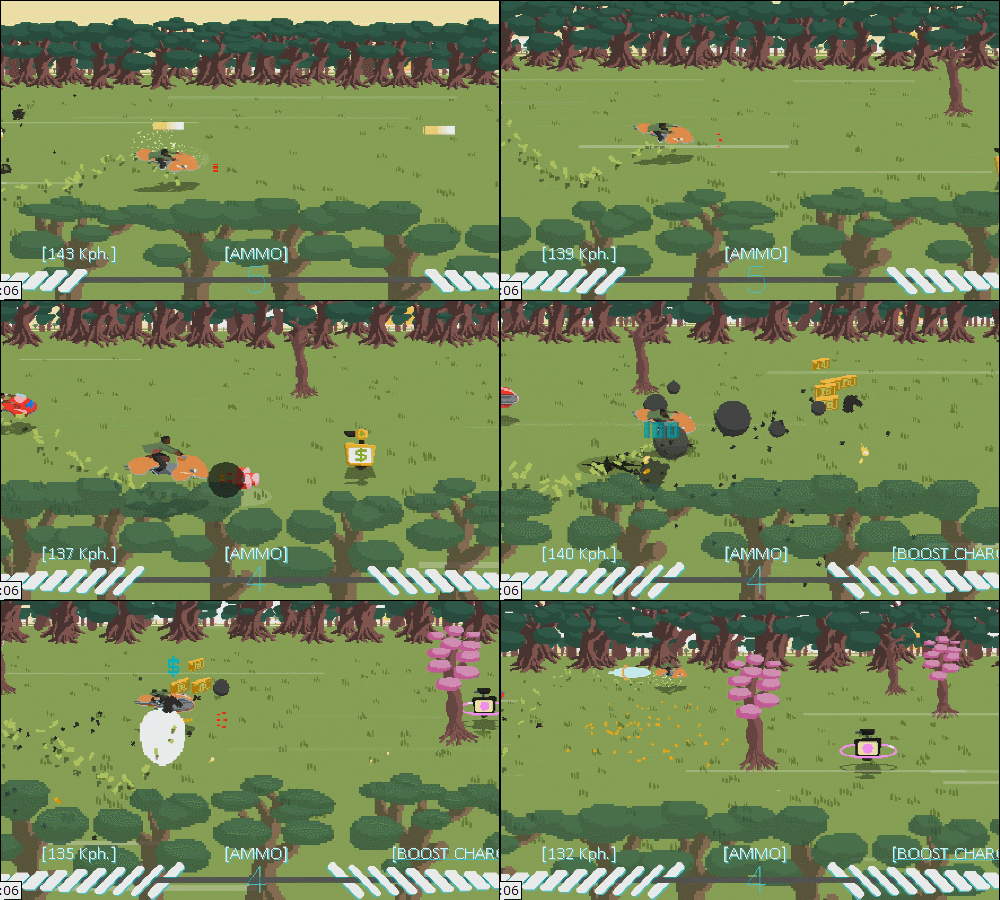
How do we know when the Race is about to end?
Music is intrinsically linked with the side-scrolling races that are at the heart of Desert Child. Race length is dictated by its backing track. As you become familiar with the game’s tracklist, you’ll know when a race is reaching its climax by its music accompaniment.
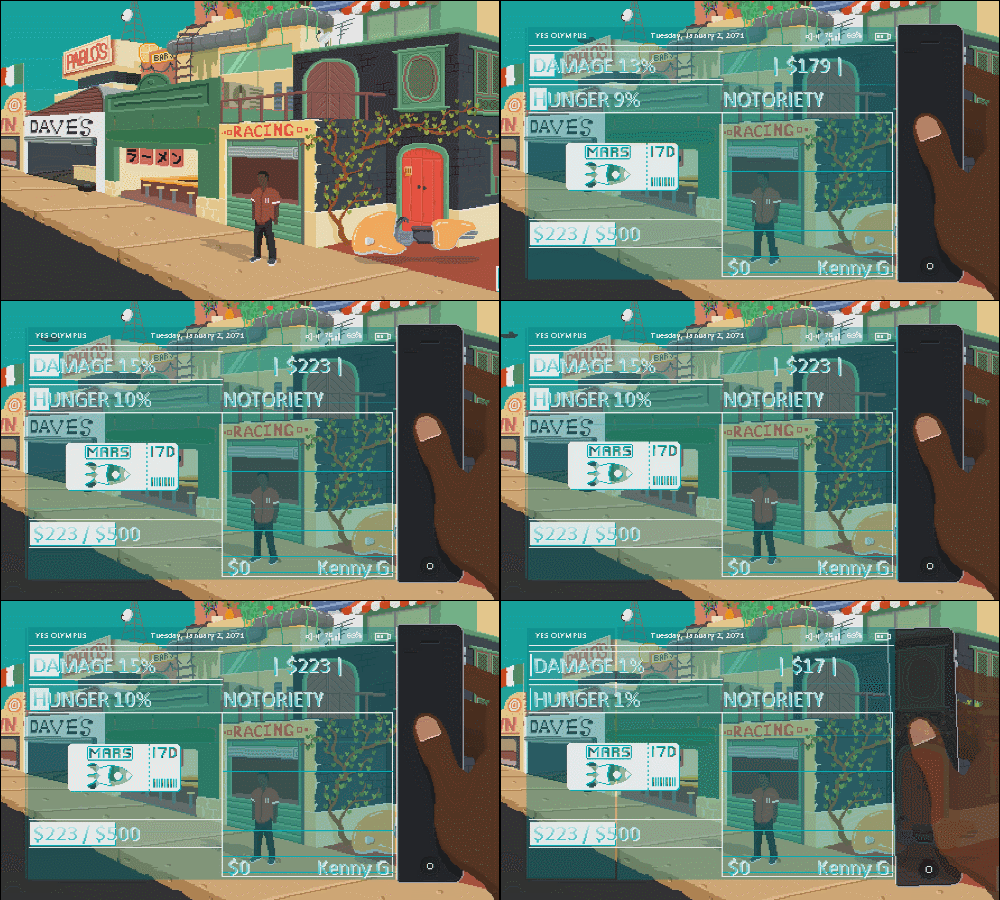
Access Phone – When in the open world, and not racing or interacting with anyone (or thing), you can press and hold the ‘B’ button to pull up your phone. You can view your damage done to your bike, your hunger level, the amount of money you have, your next objective, and your notoriety level.
Basic Tips (Act 2)
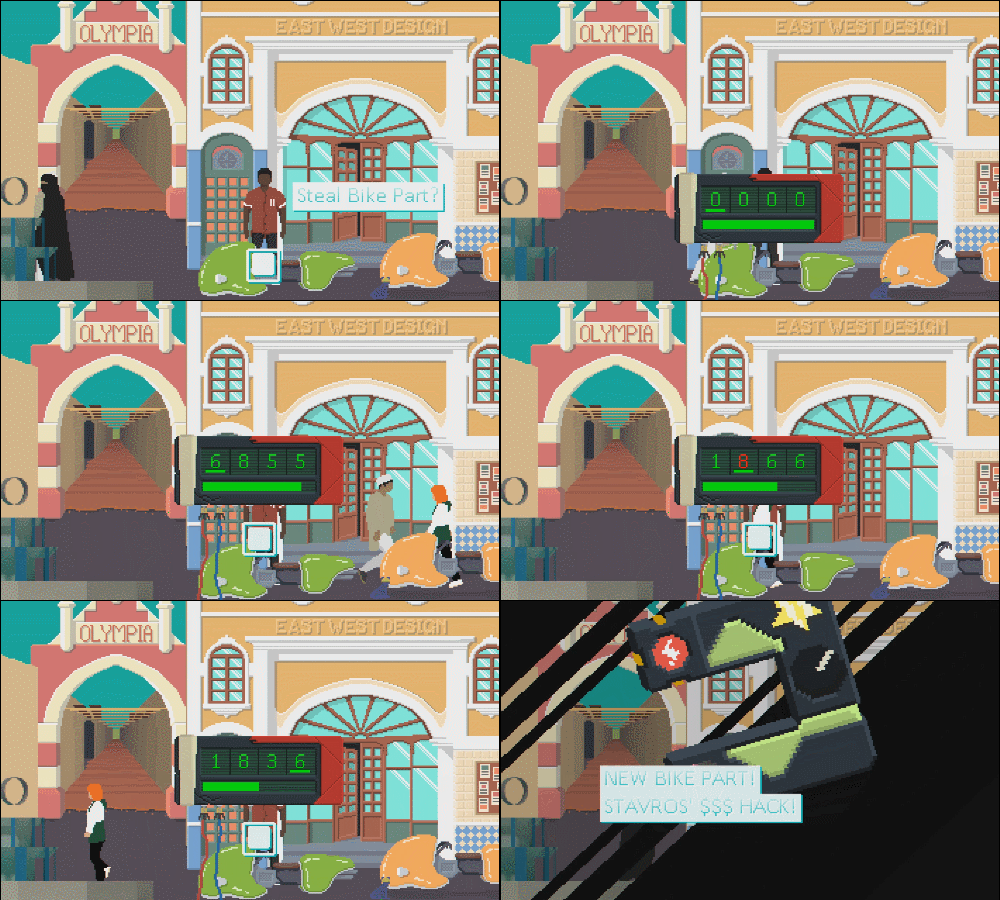
Stealing Bike Parts – Quickly press ‘A’ when the number turns red to move on to the next sequence. There will be bikes scattered throughout the area.
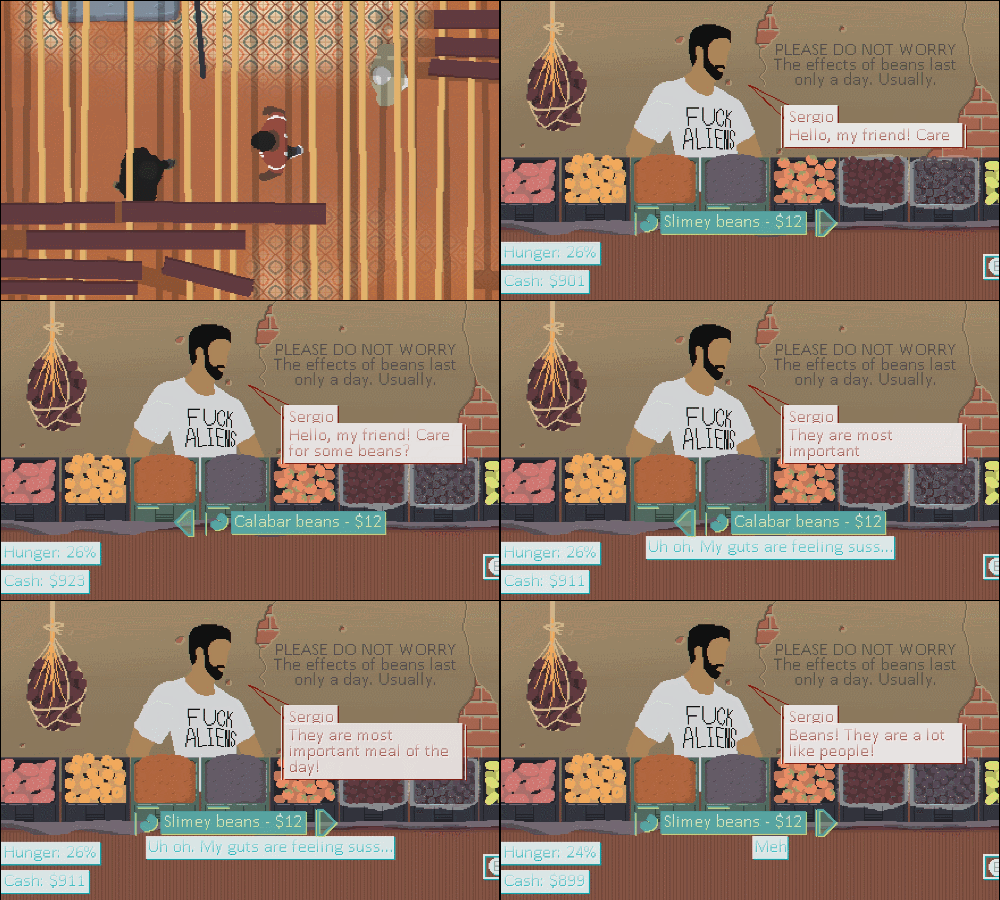
Sergio’s Beans – You can purchase Beans in the Bean Market that will either grant you positive, negative, or weird status effects.
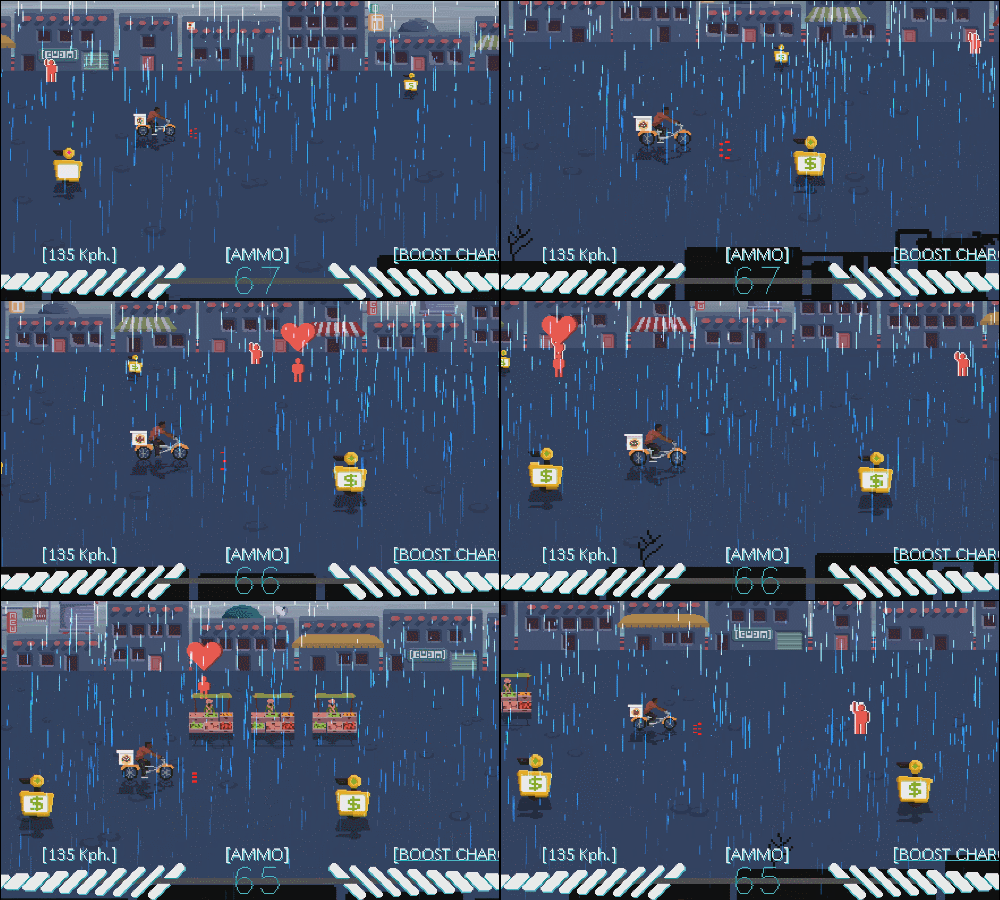
Pizza Delivery – Same mechanics as hoverbike racing, but you’ll discover that the pizza travels in a curved, upward trajectory.
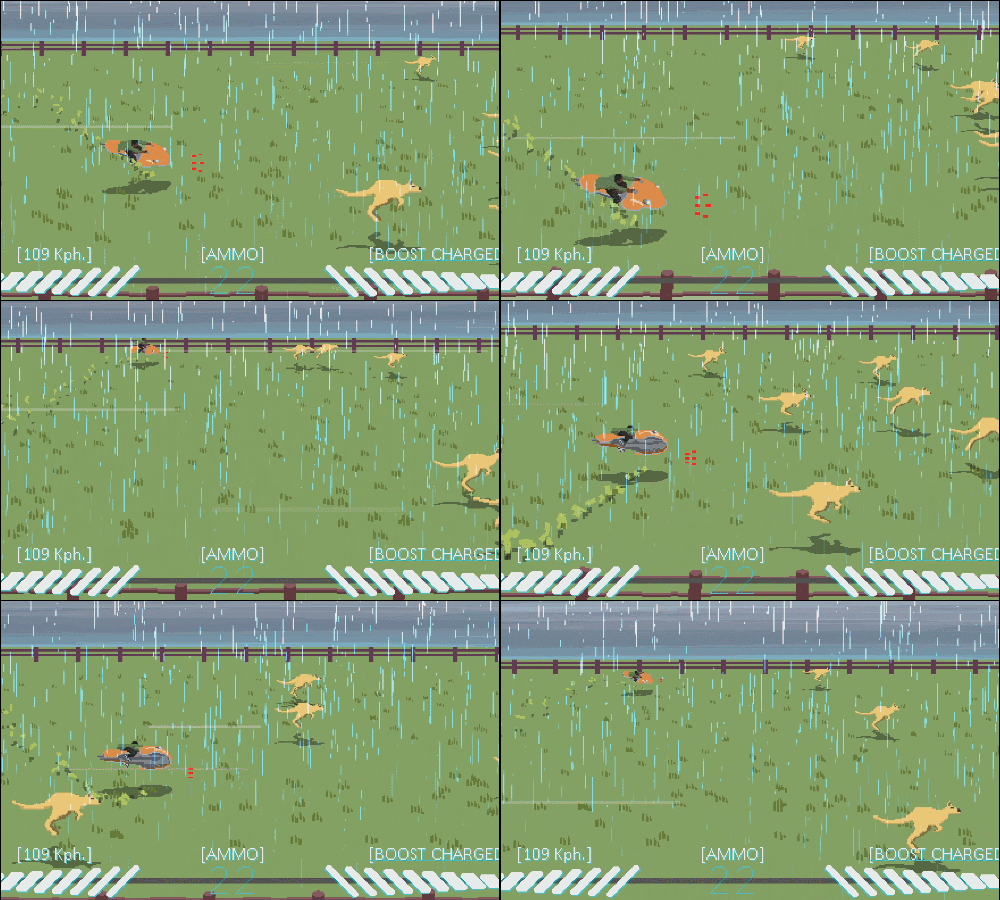
Kangaroo Herding – Keep the Kangaroos in front of you, and try not to run them over or shoot them, or have them get behind you.
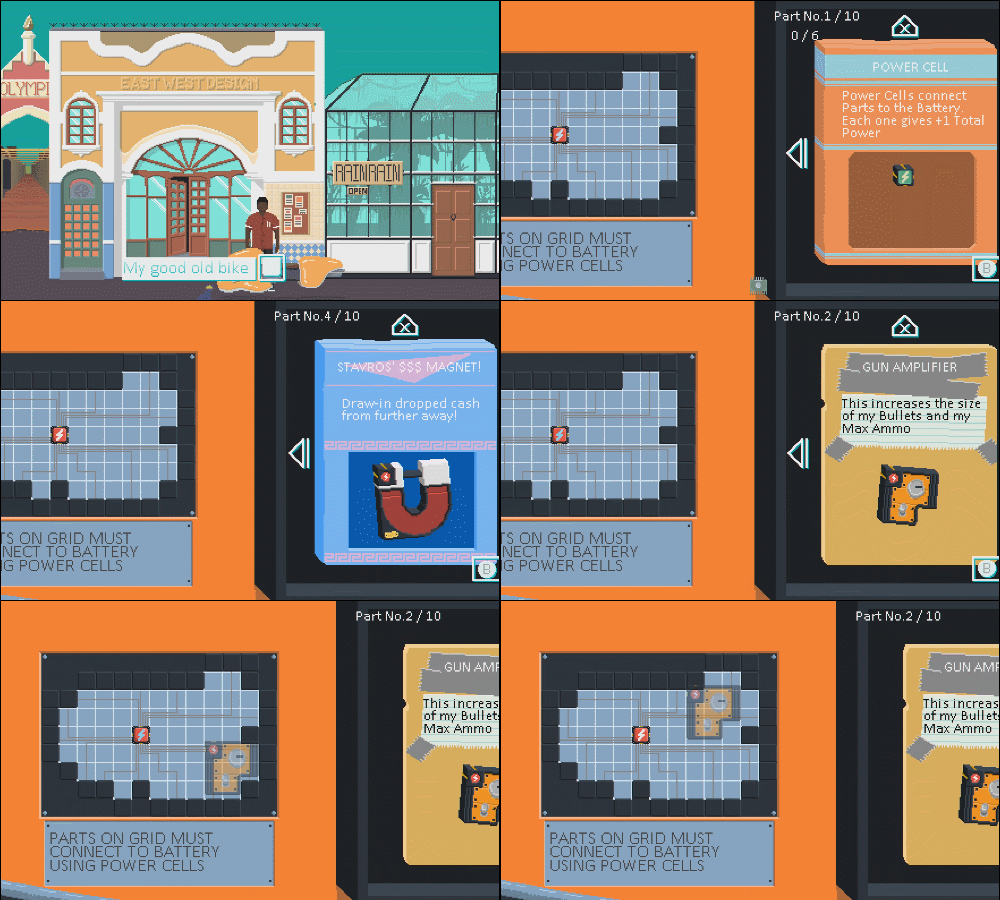
Bike Modifications (Act 2, 3)
To modify your hoverbike, press ‘A’ when you are in front of your orange hoverbike, then press ‘A’ again to access the grid. Once in the grid, you can cycle through the different parts you have by moving left and right on the left analog stick/d-pad. You can select the mod you want to place in the grid by pressing ‘A’, then you can move the corresponding piece inside of the grid; press ‘A’ again to place the mod in the grid. You can press up on the left analog stick/d-pad if you wish to remove the mod from the grid. You will not be able to rotate any mod piece.
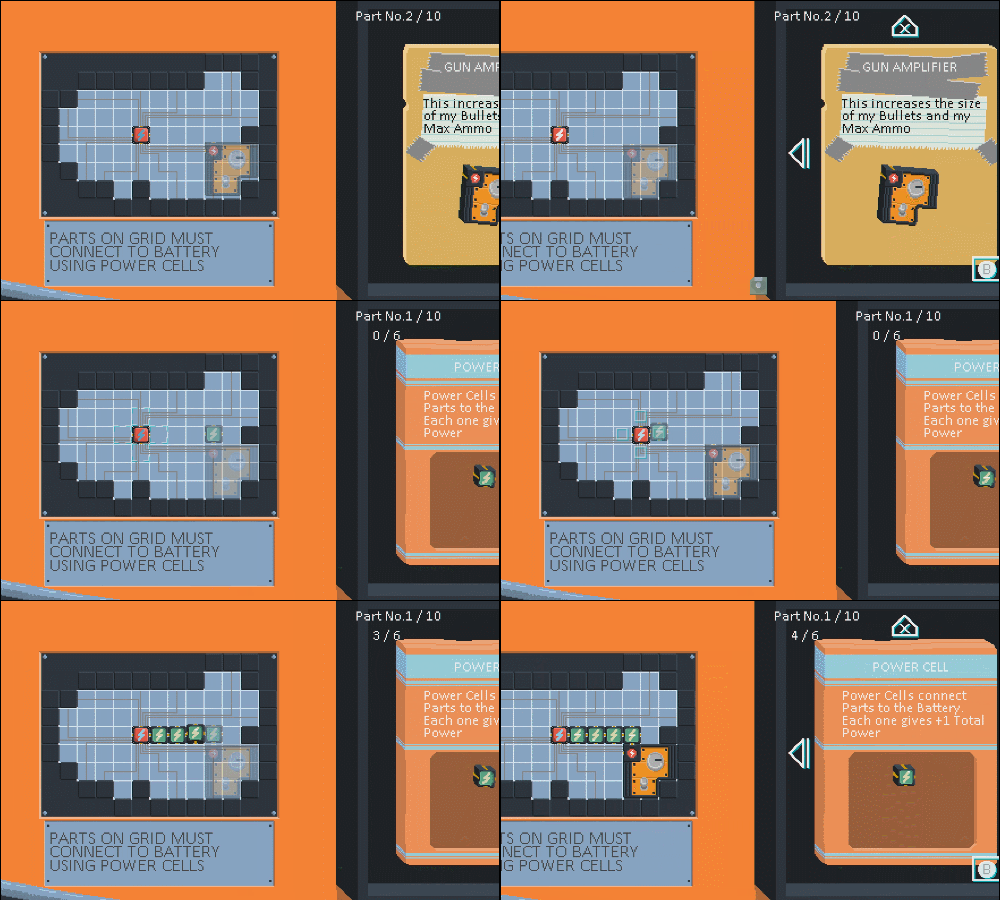
To power up the mod, you must use the power cells that are awarded at the end of races (or purchased from a vendor) to link the mod to the battery, found in the middle of the grid (red block with lightning on it). On the mod itself, you will also see a red connector; you will have to use the power cells to link the battery to the red connector found on the mod to power it up.
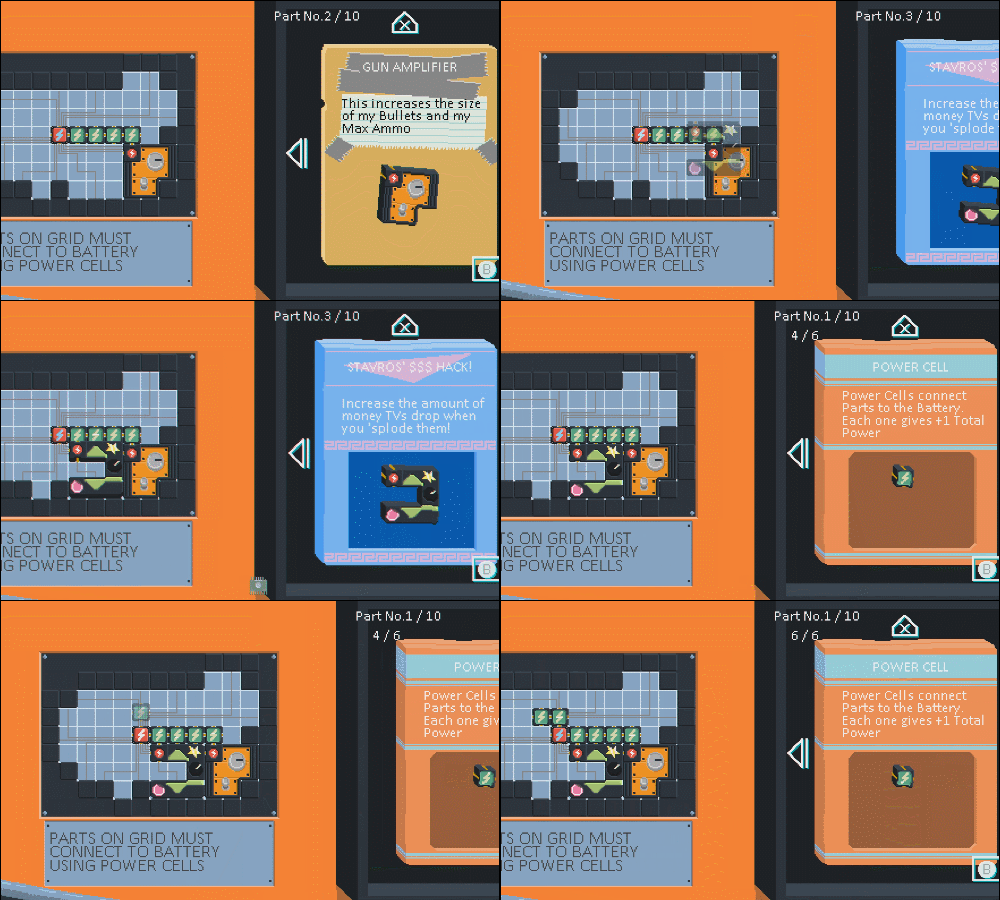
You can use multiple mods within the grid, but because the grid is limited in space, you won’t be able to place all the mods you collect onto the grid, so it is important to try to equip the mods you need for each instance. Additionally, you will want to fill up any spaces in the grid with remaining power cells, as the more you have placed on the grid, the more powerful the mod gets.
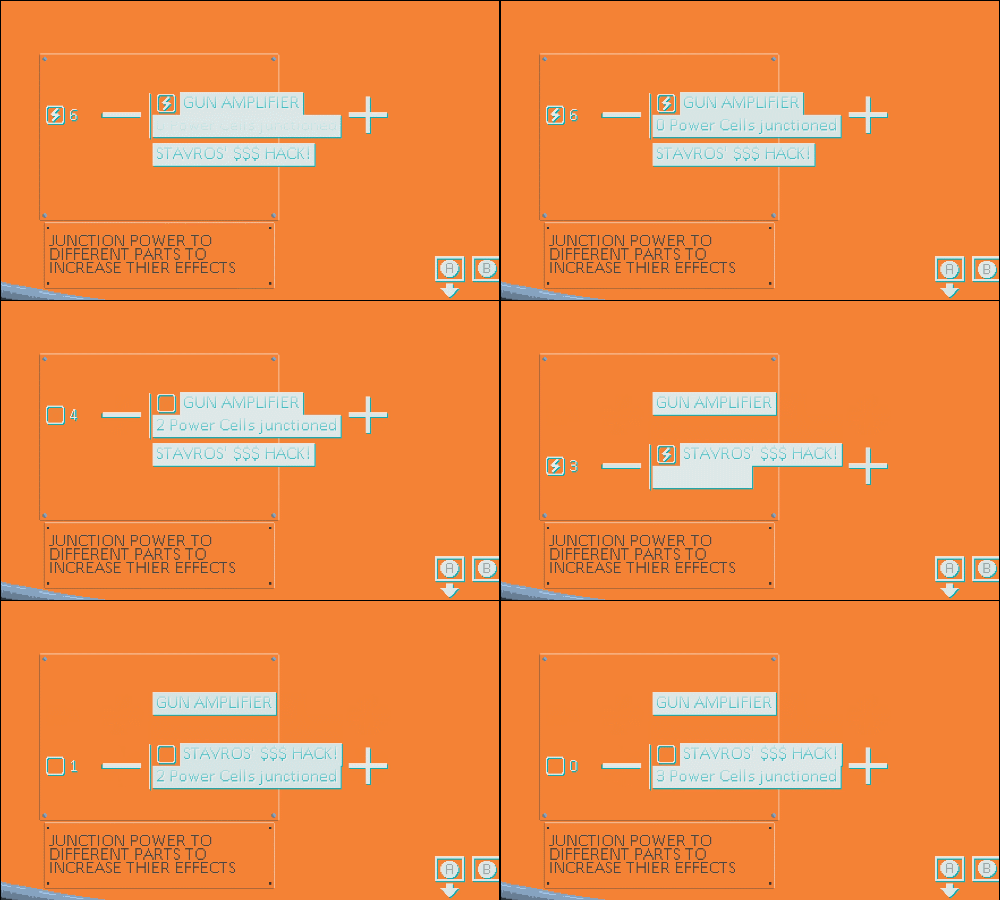
Once you are done adding all of the mods to the grid, press ‘B’ to access where you allocate all of the power cells into specific mods. You’ll notice to the left, the total number of power cells that can be allocated into each mod. Once in this menu, press up and down on the left analog stick/d-pad to access each mod, then press right to add the power cell, or press left to remove the power cell. As mentioned before, the more power cells that are allocated toward each mod, the more powerful the mod becomes.
Final Tips
- The more Damage there is to your bike, the less Boost bars will be available to you during the race.
- You’ll also find that the Hunger level is directly proportional to how quickly you regenerate your boost; the more hungry you are, the slower the regeneration rate
- Your Notoriety level will increase when performing illegal activities, such as stealing bike parts, and hacking a bank.
- If your Notoriety level is high, at a certain point, the police will come after you, where if captured, you will lose all of your money that isn’t in the bank.
- During racing, the more things you shoot, the faster you will go.
- If racing properly, you won’t have to summon the ammo truck.
- The bank provides 3% interest daily to money deposited.
- There are some mods that provide more money during races.
